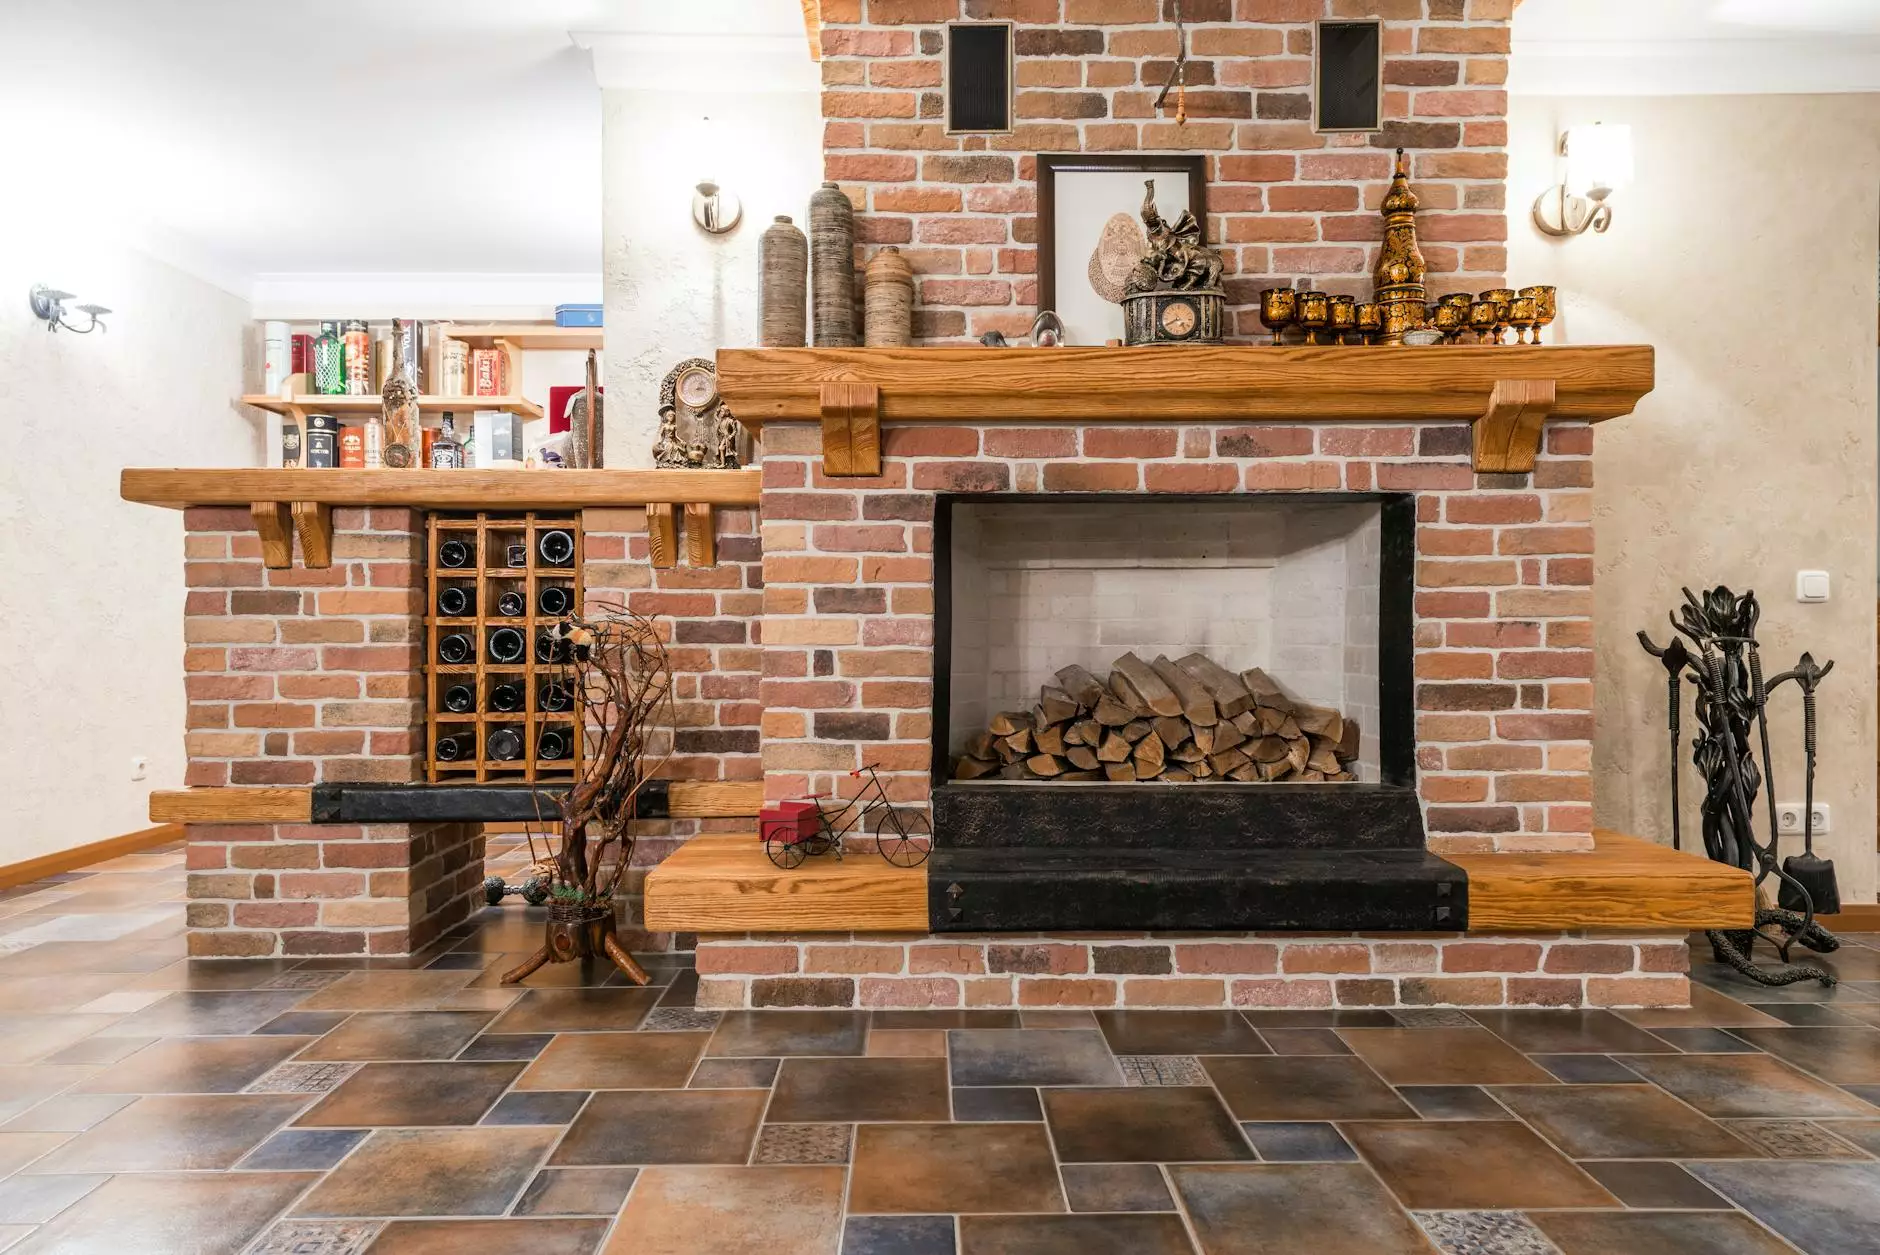
Stacked Wood Fireplace Cover

Introduction
Welcome to Frameworks, your go-to source for DIY projects and creative home improvement ideas. In this guide, we will walk you through the process of building your very own stacked wood fireplace cover. Whether you’re looking to add a touch of rustic charm or enhance the visual appeal of your living space, this project is perfect for you. Let's dive in!
The Benefits of a Stacked Wood Fireplace Cover
Before we delve into the details of building a stacked wood fireplace cover, let's explore the various benefits it offers:
- Enhanced Aesthetics: A stacked wood fireplace cover adds a unique, natural element to your home's interior, creating a warm and inviting atmosphere.
- Heat Efficiency: By covering your fireplace with stacked wood, you can prevent heat loss and improve the efficiency of your heating system.
- Cost-effective: Stacked wood is often readily available and can be a cost-effective alternative to other materials used for fireplace coverings.
- Customizable: You have the freedom to choose different types of wood, colors, and patterns to match your overall interior design scheme.
- Easy Maintenance: Cleaning and maintaining a stacked wood fireplace cover is relatively simple, making it an attractive option for many homeowners.
Step-by-Step Guide to Building a Stacked Wood Fireplace Cover
Now that we understand the benefits, let's dive into the detailed step-by-step process of creating your very own stacked wood fireplace cover:
Step 1: Gather Your Materials
Before you begin, collect the necessary materials:
- Wood boards (preferably aged or reclaimed wood for a rustic look)
- Measuring tape
- Saw (circular saw or miter saw)
- Sandpaper (various grits)
- Wood glue
- Clamps
- Nails or screws
- Paint or sealant (optional)
- Paintbrush or roller (if painting)
Step 2: Measure and Cut the Wood
Measure the dimensions of your fireplace opening and mark them on the wood boards. Using a saw, carefully cut the boards to the desired lengths. Sand the edges to ensure a smooth finish.
Step 3: Arrange and Glue the Wood
Start arranging the cut wood boards in a stacked pattern, ensuring a snug fit against the fireplace opening. Apply wood glue between the boards to secure them together. Use clamps to hold the boards in place until the glue dries.
Step 4: Secure the Wood
Once the glue has dried, reinforce the structure by securing the wood boards with nails or screws. Make sure to choose an appropriate length to prevent them from protruding or damaging the fireplace.
Step 5: Finishing Touches
If desired, you can add a coat of paint or sealant to enhance the appearance and durability of your stacked wood fireplace cover. Apply the chosen finish using a paintbrush or roller, ensuring even coverage and allowing sufficient drying time.
Final Thoughts
Congratulations! You've successfully built your own stacked wood fireplace cover. This stunning addition will undoubtedly become a focal point of your living space, creating a cozy and inviting ambiance. Remember to regularly clean and maintain your fireplace cover to ensure its longevity. Enjoy the warmth and beauty it brings to your home!
Get Inspired and Create!
At Frameworks, we believe that creativity knows no bounds. We encourage you to explore our other DIY projects and home improvement ideas to continue enhancing your living spaces. Stay tuned for more exciting content!


