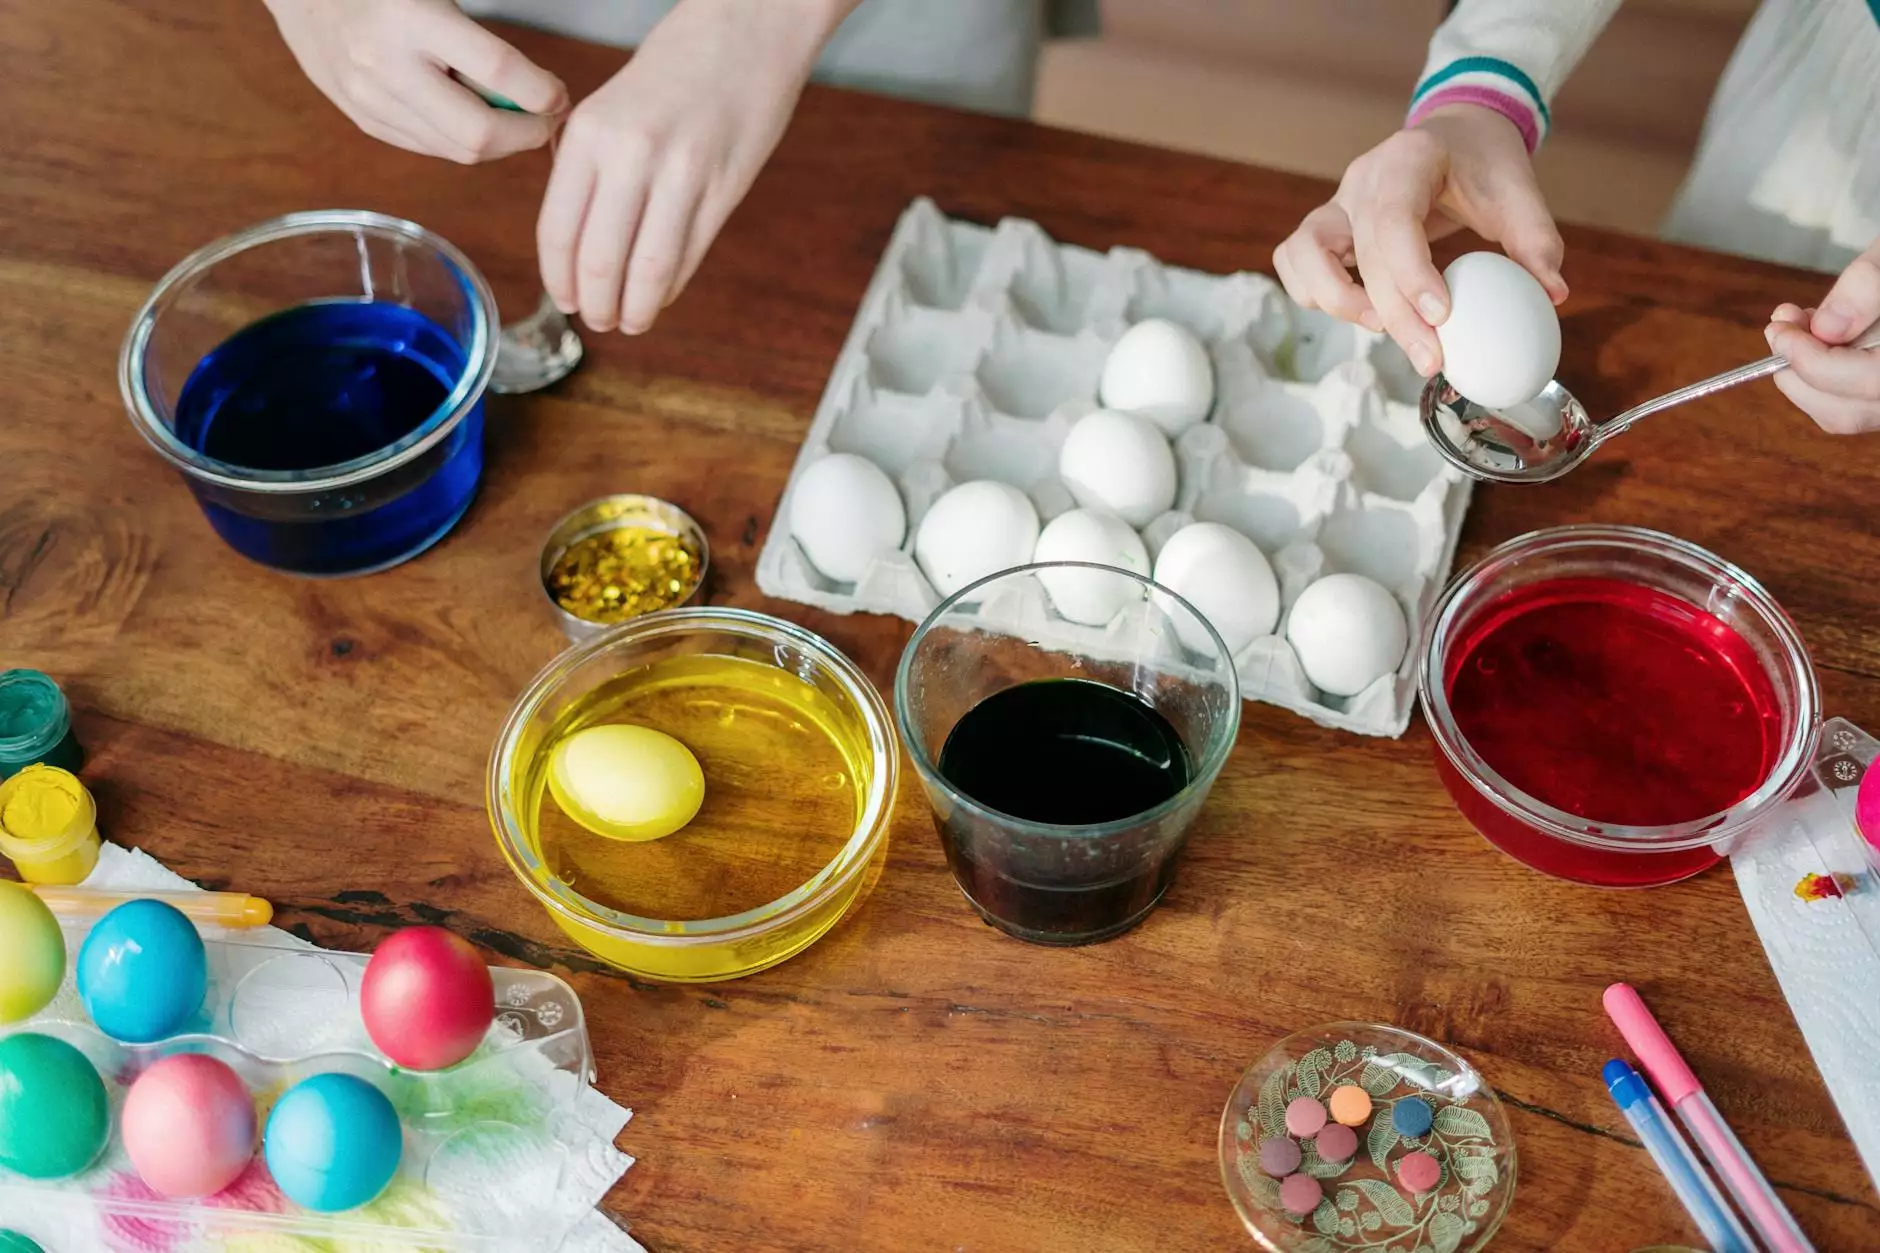
Naturally Dyed Easter Eggs

Introduction
Welcome to Frameworks' comprehensive guide on creating beautifully naturally dyed Easter eggs. In this guide, we will walk you through the process of using simple ingredients to achieve vibrant and unique colors. Say goodbye to artificial dyes and embrace the beauty of natural pigments. Let's dive in!
Why Natural Dyes?
Natural dyes offer a sustainable and eco-friendly alternative to artificial colorants. They are derived from plants, spices, and other natural sources, making them safe for both you and the environment. By using natural dyes, you can create stunning eggs while also reducing your carbon footprint. It's a win-win!
Materials You'll Need
- Hard-boiled eggs
- Various natural ingredients (e.g., fruits, vegetables, spices, tea)
- White vinegar
- Large pot
- Water
- Heat-resistant bowls or cups
- Strainer
- Egg cartons or drying rack
- Wax or crayons (optional for creating designs)
Step-by-Step Instructions
1. Preparing Your Dye Ingredients
Start by gathering your desired natural dye ingredients. For vibrant reds, try using beets or cranberries. Turmeric provides a beautiful yellow hue, while spinach or matcha powder can create stunning shades of green. Experiment with different ingredients to achieve the colors you desire.
2. Hard-Boiling Your Eggs
Place your eggs in a large pot and cover them with water. Add a tablespoon of white vinegar to prevent the eggs from cracking while boiling. Bring the water to a boil, then reduce the heat and let the eggs simmer for about 10-12 minutes. Once done, remove the eggs from the pot and allow them to cool.
3. Creating the Natural Dyes
While your eggs are cooling, it's time to prepare the natural dyes. For each desired color, combine the ingredients with water and a tablespoon of white vinegar in separate heat-resistant bowls or cups. The amount of water may vary depending on the intensity of color you want to achieve.
4. Dyeing Your Eggs
Submerge your cooled, hard-boiled eggs into the dye baths, ensuring they are fully covered. For more vibrant colors, leave the eggs to soak overnight in the refrigerator. If you prefer lighter shades, check the eggs periodically until they reach your desired color intensity.
5. Adding Unique Designs (Optional)
Once your dyed eggs are dry, you can take it a step further and add unique designs. Using wax or crayons, draw patterns or write messages on the eggs before dyeing them. The wax or crayon will resist the dye, creating beautiful designs once removed.
6. Finishing Touches and Storage
After dyeing and decorating, allow the eggs to dry completely. Place them in egg cartons or on a drying rack to avoid any smudging. Once dry, you can enjoy using them for Easter decorations or as delicious additions to your holiday table.
Conclusion
Congratulations! You have successfully learned how to create beautifully naturally dyed Easter eggs. By using natural dyes, you can express your creativity while also promoting sustainability. Enjoy the process and cherish the vibrant and unique eggs you've created with love. Happy Easter from Frameworks!


