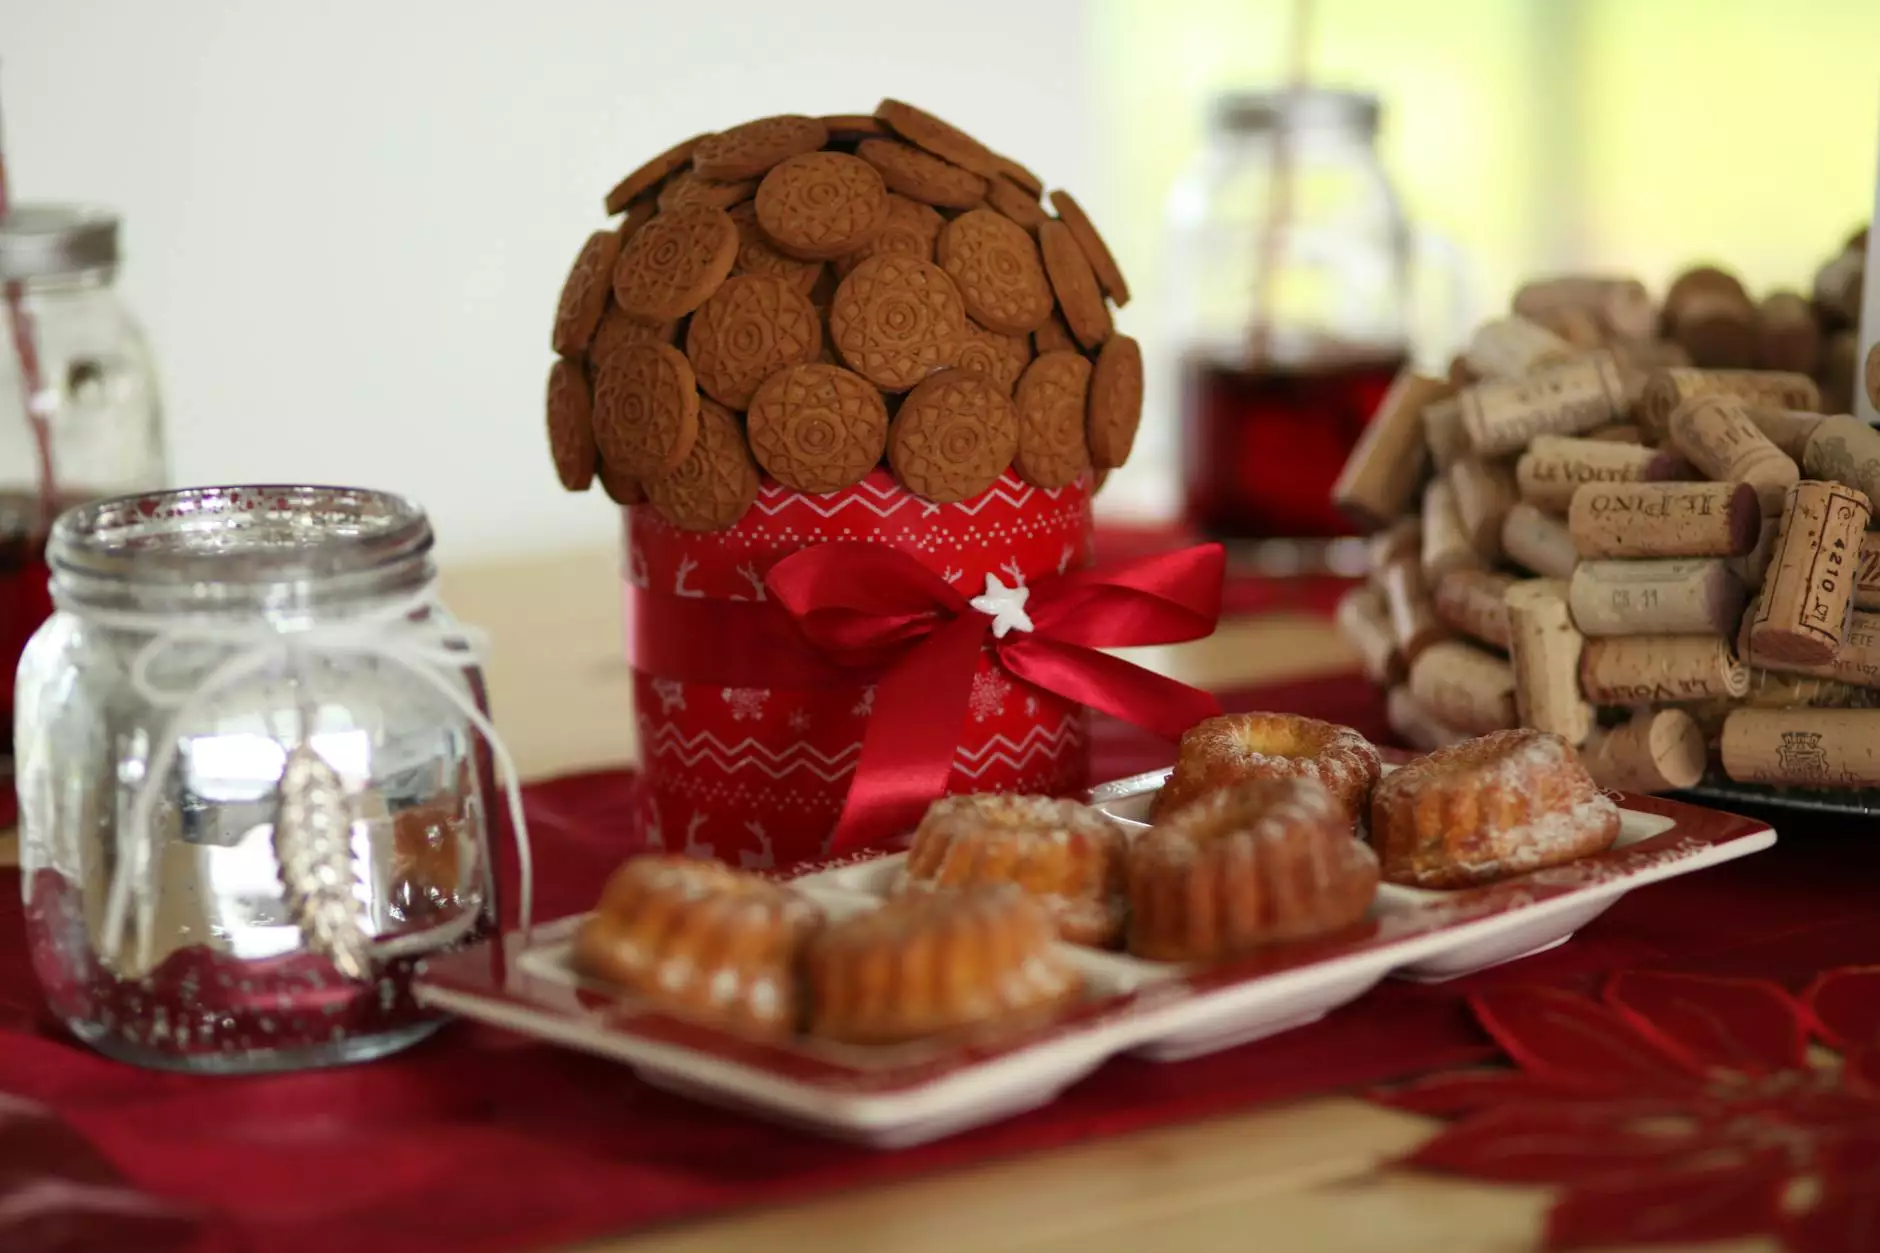
What to do with 600 corks? Make a cork boot tray of course.

Welcome to Frameworks, your ultimate destination for all things DIY! If you find yourself with a surplus of 600 wine corks, we have a fantastic project idea for you - a cork boot tray. Not only will this project help you repurpose those corks, but it will also serve as a functional and stylish addition to your entryway.
Why Make a Cork Boot Tray?
A cork boot tray is the perfect solution for keeping your floors free from dirt, mud, and water that often accompanies wet or muddy boots. Not only does it serve as a protective barrier, but it also adds a touch of natural elegance to your home. Plus, by repurposing those corks, you're reducing waste and giving them a new life in a creative and practical way.
Materials Needed
- 600 wine corks
- Wooden tray or frame (sized to fit your needs)
- Wood glue or hot glue gun
- Measuring tape
- Scissors
- Optional: Waterproof sealant
Step-by-Step Instructions
1. Prepare Your Tray
Begin by selecting a wooden tray or frame that suits your style and fits your space. Measure the interior dimensions of the tray to determine the number of corks needed and the arrangement pattern. Ensure the tray is clean and dry before moving on to the next step.
2. Arrange the Corks
Take your 600 corks and lay them out in the desired pattern within the tray. You can experiment with different arrangements, such as a herringbone or checkerboard design, to create a unique look. This step allows you to visualize the final product and make any adjustments before securing the corks in place.
3. Glue the Corks
Once you're satisfied with the arrangement, it's time to glue the corks in place. Apply a small amount of wood glue or use a hot glue gun to attach each cork to the tray. Take care to secure them firmly but avoid using excessive glue, as it may seep between the corks.
4. Optional: Apply Waterproof Sealant
If you'd like added protection against moisture, consider applying a waterproof sealant over the corks. This step is especially useful if you plan on placing wet boots or shoes on the tray regularly. Be sure to follow the manufacturer's instructions when applying the sealant and allow for sufficient drying time.
5. Let it Dry
Allow the glue and sealant, if applied, to dry completely. This typically takes a few hours, but it's best to refer to the specific drying times mentioned by the product manufacturer. Once dry, your cork boot tray is ready to be showcased in your entryway!
Tips and Recommendations
Here are some additional tips and recommendations to ensure your cork boot tray turns out perfectly:
- Consider using corks from various wine bottles to add visual interest and character.
- If you're unable to collect 600 corks, you can always supplement your collection by purchasing additional corks online or at craft stores.
- Ensure the tray or frame you choose is sturdy enough to support the weight of the corks.
- Measure the interior of your tray accurately to avoid ending up with either too many or too few corks.
- Take your time in arranging the corks to achieve a pattern that you find visually appealing.
By following these steps and incorporating these tips, you'll transform your surplus corks into a beautiful and practical cork boot tray that serves as a conversation starter and a functional addition to your home.
At Frameworks, we love inspiring creativity and providing our readers with helpful DIY solutions. Stay tuned for more exciting projects and ideas to spruce up your living space. Now, let's get crafting!


